
A practical guide to abrasive preparation, polishing contact tools, and representative-part trials.
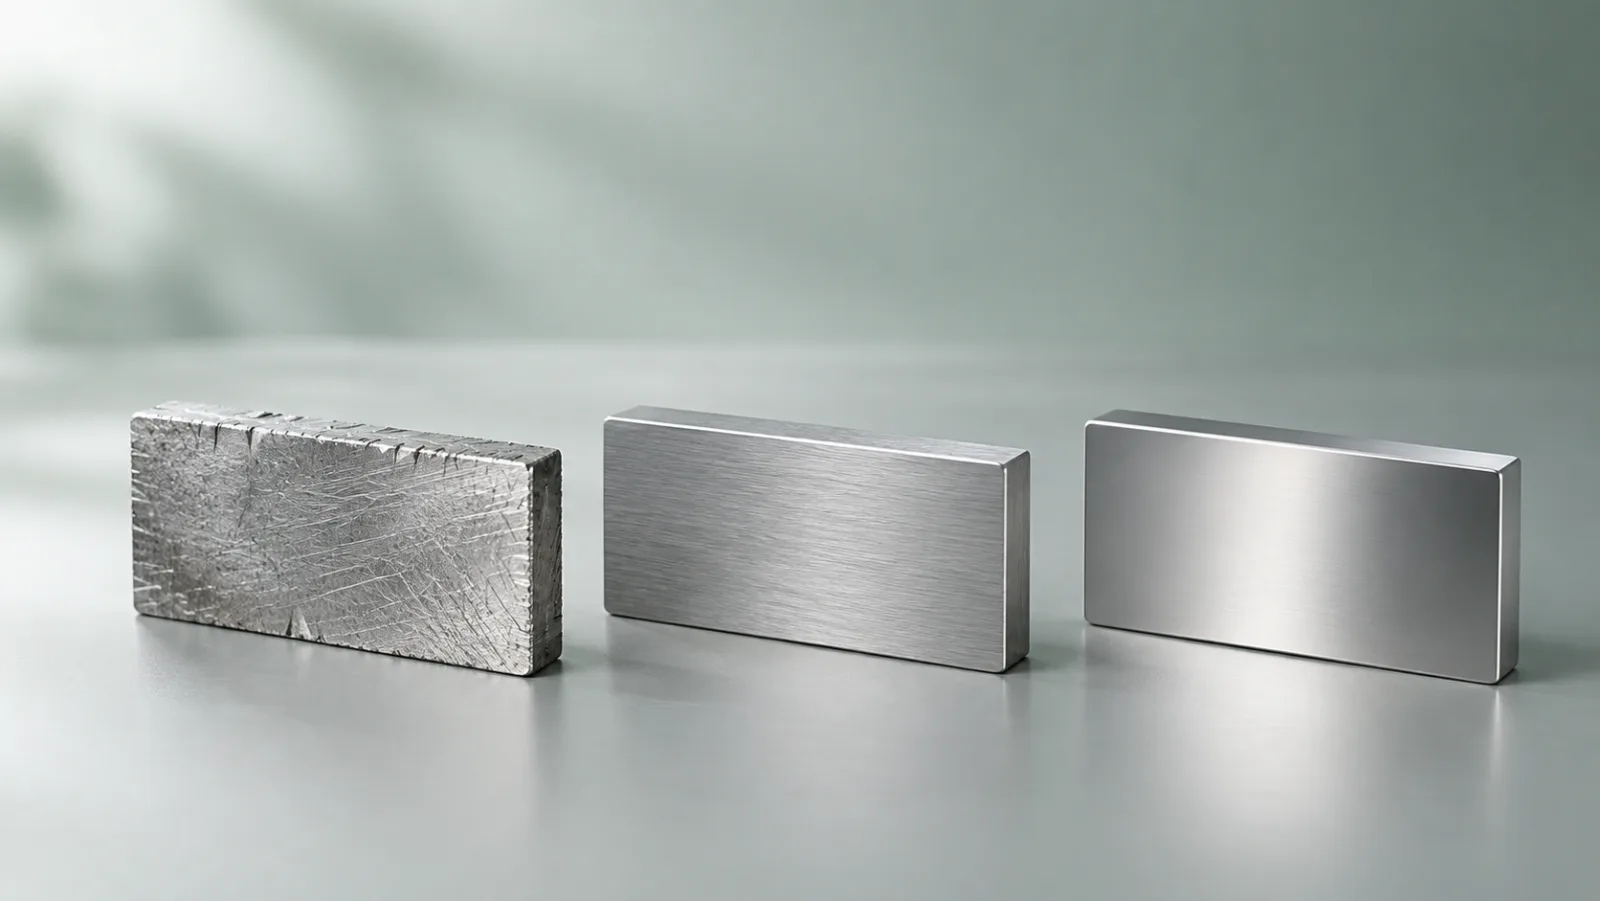
Manufacturers rarely need a component that is simply smooth. They need a controlled scratch pattern, specified roughness, consistent gloss, a prepared edge, or a repeatable cosmetic appearance.
Precision surface finishing uses a staged sequence to move a workpiece from its current surface to a defined, inspectable target. Depending on the part, that sequence can include deburring, grinding, sanding, surface conditioning, localized correction, polishing, and final inspection.
Finishing is a process system
The workpiece, abrasive form, contact tool, machine conditions, and acceptance criteria must be considered together. A surface may look smooth and still show unacceptable directional scratches, haze, waviness, edge defects, or color differences.
Start with the workpiece and target
Confirm material, geometry, incoming defects, protected edges, available equipment, target surface, and inspection method before selecting a product. Grit alone does not define the result.
Four product roles
| Role | Approved series | Selection focus |
|---|---|---|
| Preparation and scratch refinement | SA, VD, ST, NW | Substrate, defect, backing, form, and wet or dry use |
| Localized and laboratory abrasion | SP, MT | Defect area, specimen material, diameter, and grit sequence |
| Grinding and edge work | QC, FD | Tool interface, size, speed, and removal target |
| Final contact and independent printing | PL solid contact tools; PR pad-printing consumables | Geometry, pressure transfer, target appearance, or printing conditions |
How to select a product sequence
- Define the workpiece and incoming surface.
- Describe the defect and the amount that must be removed.
- Set the target texture, gloss, edge condition, or approved sample.
- Match product form, backing, interface, size, and grit to the process.
- Trial the complete sequence on a representative part.
- Record the approved combination and inspection result.
Common mistakes
Selecting by grit alone
Backing, abrasive construction, flexibility, format, pressure, and tool motion can all change the result.
Skipping too many stages
A very fine abrasive cannot efficiently remove a deep defect left by an earlier stage.
Using the wrong product form
A flat sheet, flexible sponge, small disc, and contact pad transfer pressure differently.
Using vague acceptance language
Terms such as mirror finish or high gloss need a target sample or agreed inspection criteria.
What to share with GUOWIN
Send the workpiece material, dimensions, overall and close-up photographs, current process, target result, available tool or equipment, estimated volume, and required timing. GUOWIN can then assess a standard model, converted format, or custom-development path.